
Did you know that learning just five basic knots can make camping much better and save your life in a survival situation?
Whether you’re a seasoned outdoorsman or a camping newbie, understanding how to tie and use various knots is a crucial skill that can make your outdoor adventures safer, more comfortable, and infinitely more enjoyable.
In this comprehensive camping knots guide, we’ll explore the world of camping knots, covering everything from basic camping knots to more advanced techniques.
We’ll dive into the practical applications of different types of knots, including bend knots, hitches knots, and even some decorative camping knots for those who want to add a touch of flair to their campsite.
Table of Contents
Knot Knowledge: Your Camping Lifeline
Rope Mastery: Tools of the Trade
10 Knots That Will Transform Your Camping Experience
Practice Makes Perfect: Tips for Improving Your Knot-Tying Skills
Knot Safety: Avoid These Common Pitfalls
Knot Wizardry: Innovative Campsite Hacks
Tying It All Together: Your Journey to Knot Mastery Begins
Knot Knowledge: Your Camping Lifeline
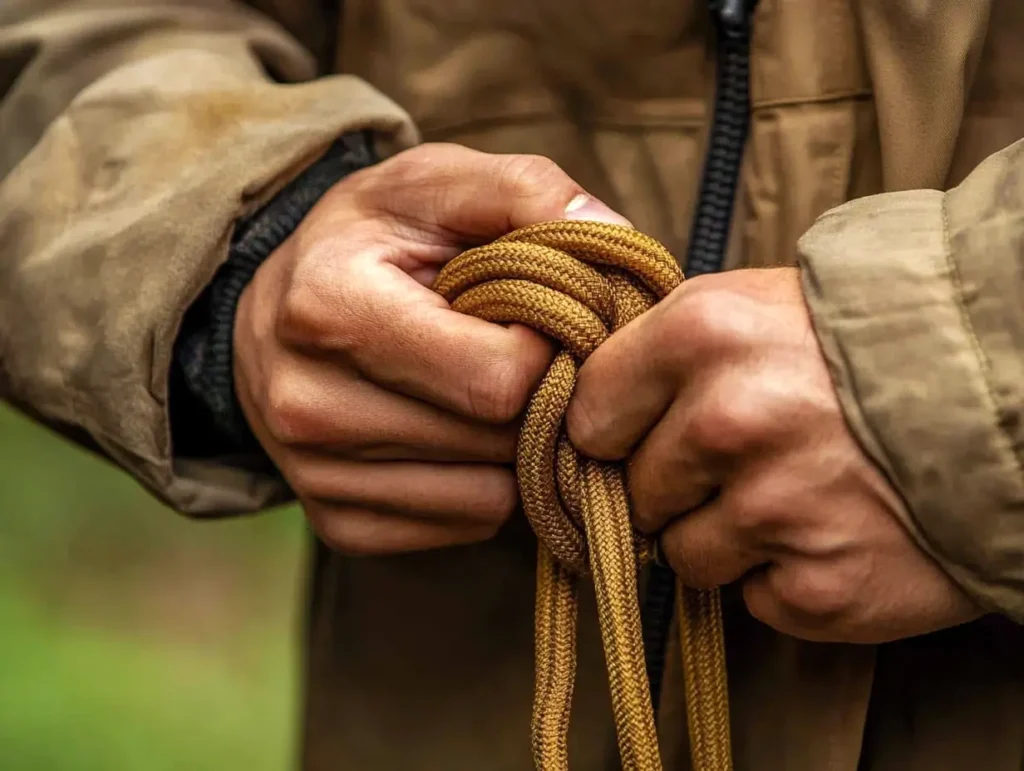
Let’s face it, folks – when you’re out in the wilderness, you can’t always rely on fancy gear or high-tech gadgets. Sometimes, it’s the simplest skills that can make or break your camping trip. Knot-tying is one of those basic outdoor skills that can truly elevate your camping game.
First off, let’s talk safety. Knowing how to tie a secure knot can be a lifesaver in emergency situations. Whether you’re securing a shelter, creating a makeshift harness, or even fashioning a splint, the right knot can make all the difference.
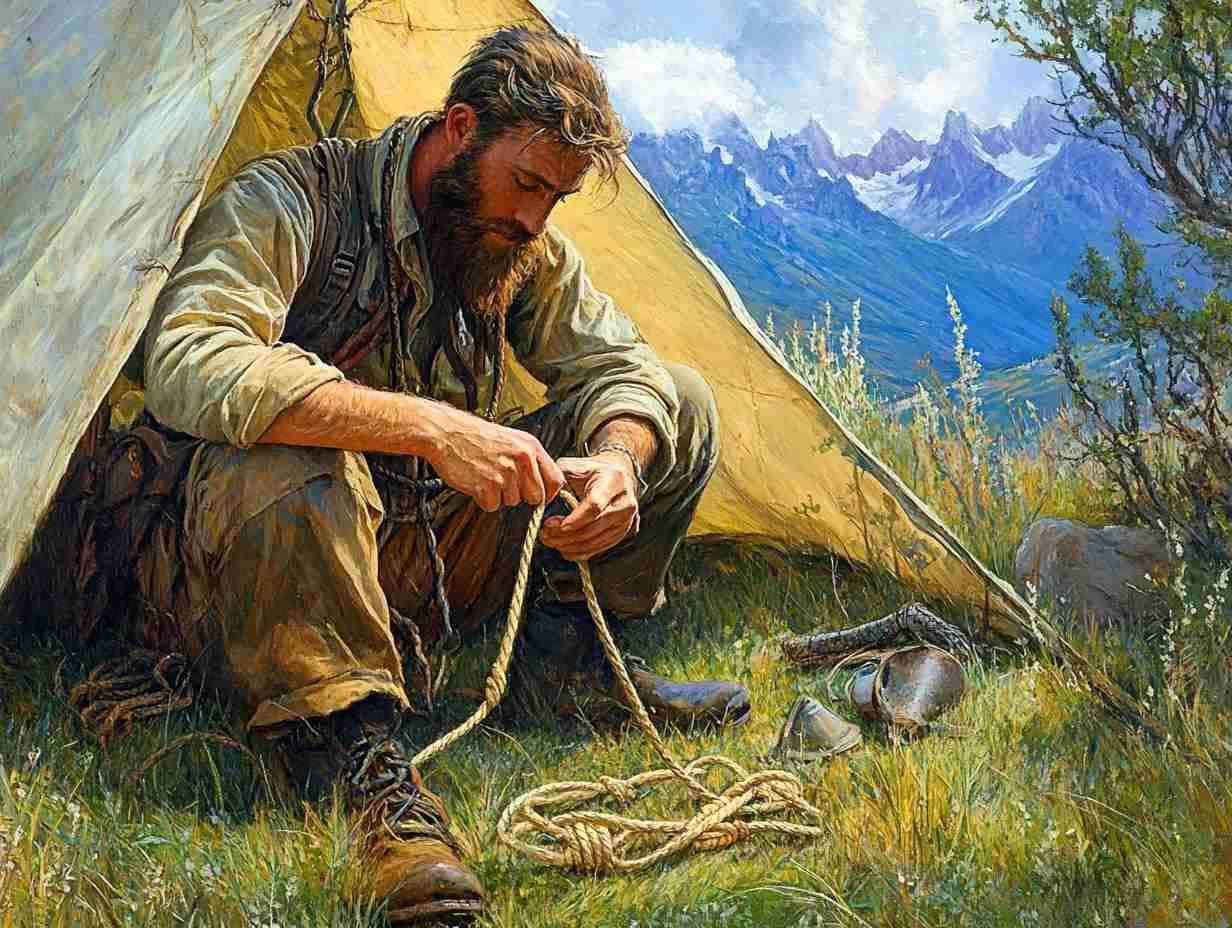
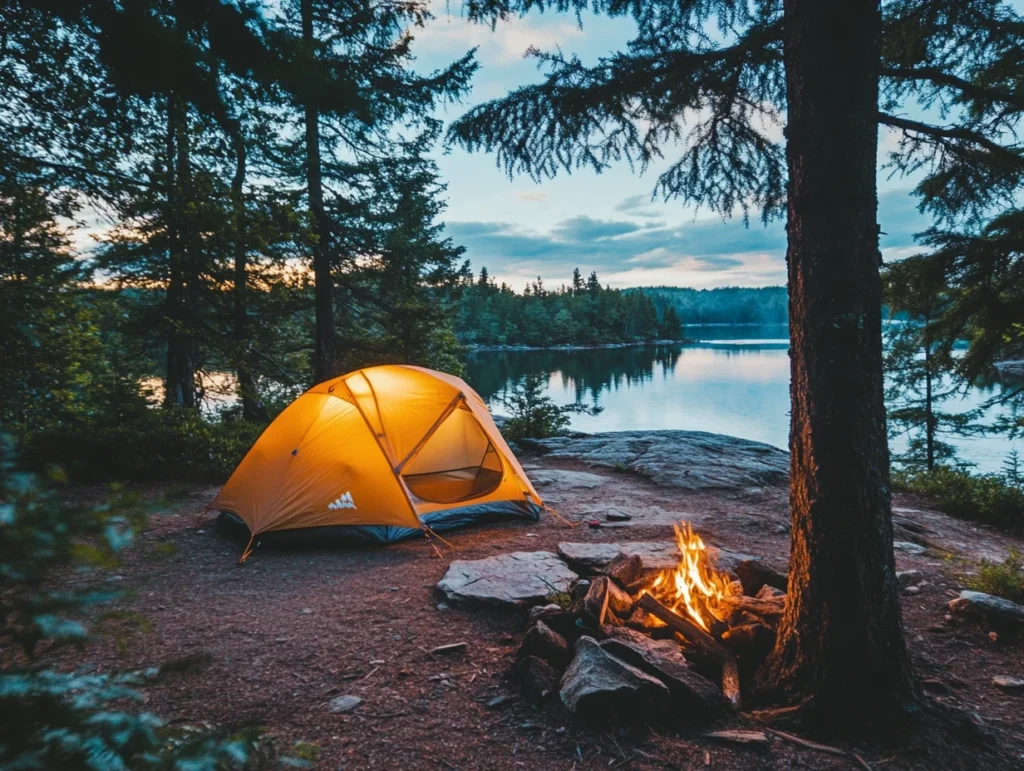
But it’s not just about survival situations. Practical applications in camp setup are where knot-tying skills really shine. From pitching tents to hanging tarps, the ability to tie a rope effectively can transform your campsite from a haphazard mess into a well-organised haven.
And let’s not forget the versatility factor. The beauty of mastering various knots is that you can adapt to almost any situation. Need to join two ropes of different thicknesses? The sheet bend has got you covered. Want to create an adjustable guy line for your tent? The taut line hitch is your new best friend.
Rope Mastery: Tools of the Trade
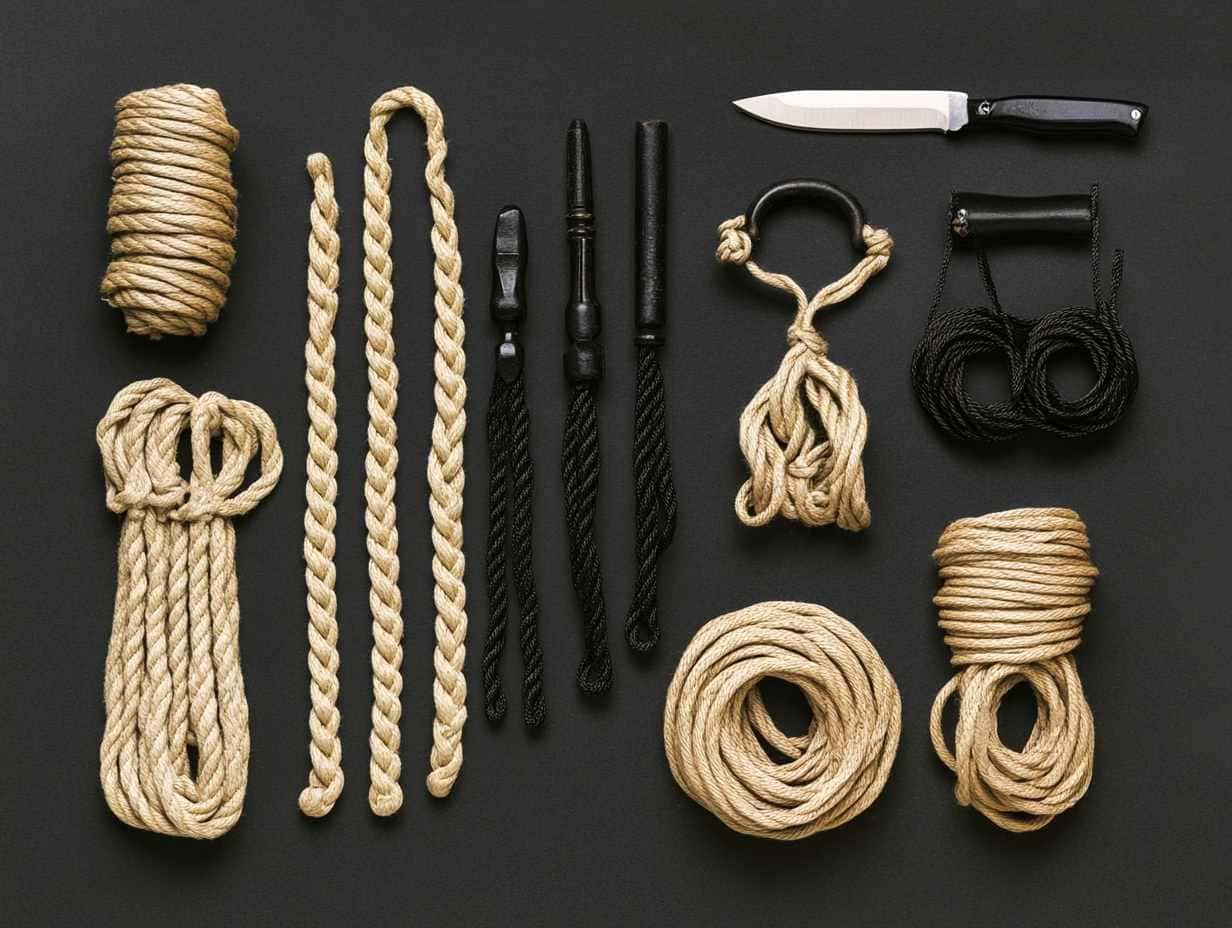
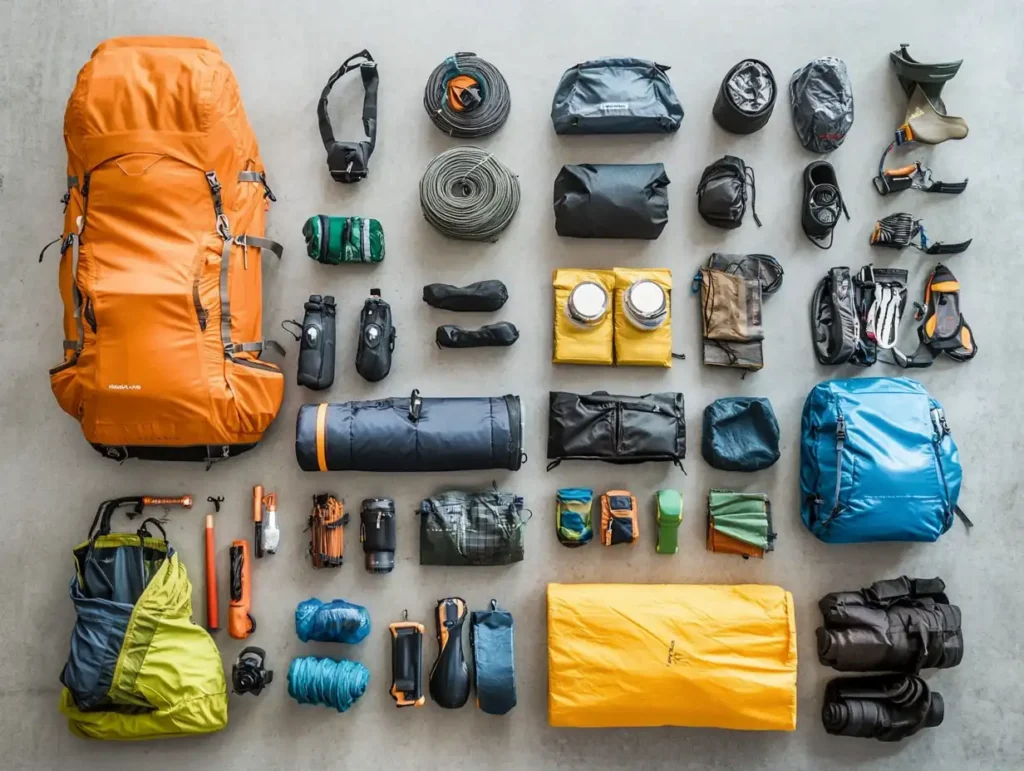
Before we dive into the nitty-gritty of knot tying, let’s talk about the tools of the trade. The most obvious, of course, is the rope. But not all ropes are created equal, especially when it comes to camping.
For most camping applications, a good quality paracord is hard to beat. It’s strong, lightweight, and versatile. However, for some tasks, you might want to think about other types of camping rope. These include static climbing rope for heavy jobs or thin cordage for more delicate work.
As for additional tools, a good knife is invaluable for cutting rope and making clean ends. Some campers also swear by a marlinspike – a pointed tool used to separate strands of rope when tying or untying knots.
And if you’re serious about your knot-tying game, you might want to invest in a knot-tying practice kit to hone your skills at home.
10 Knots That Will Transform Your Camping Experience
Alright, let’s get down to business! Here are ten essential knots every camper should have in their repertoire:
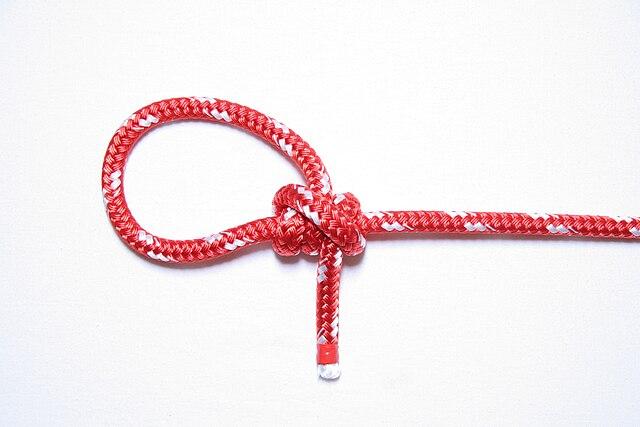
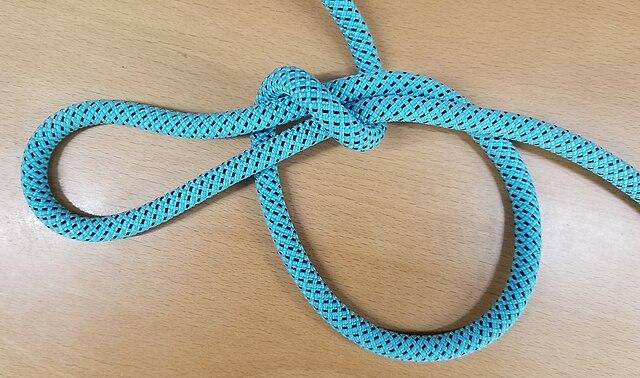
- Bowline Knot
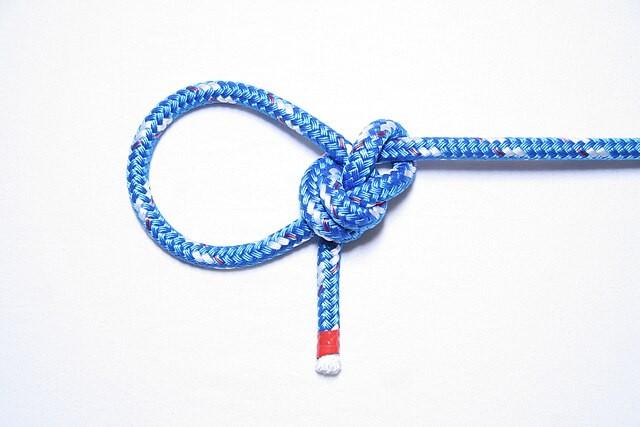
The bowline knot is often called the “king of knots,” and for good reason. It creates a secure loop that won’t slip or bind, making it perfect for a wide range of camping applications.
To tie a bowline knot:
- Form a small loop in the standing end of the rope.
- Pass the working end up through the loop.
- Bring the working end around behind the standing end.
- Pass the working end back down through the small loop.
- Tighten by pulling on both the standing end and the working end.
This knot is great for tying a rope around your waist (in case you need to be pulled to safety), securing guy lines, or creating a loop to hang gear.
- Taut-Line Hitch
The taut-line hitch is a camper’s best friend when it comes to setting up tents or tarps. It’s an adjustable knot that allows you to easily tighten or loosen a line, making it perfect for guy lines that need occasional adjustment.
To tie a taut line hitch:
- Wrap the working end of the rope around the tent peg (or other anchor point).
- Take the active end and cross it over and under the inactive end, then thread it through the loop that’s been formed.
- Repeat step 2, but pass the working end behind the first loop you made.
- Slide the hitch to adjust tension.
This knot is a game-changer for dealing with sagging tarps or tents as weather conditions change.
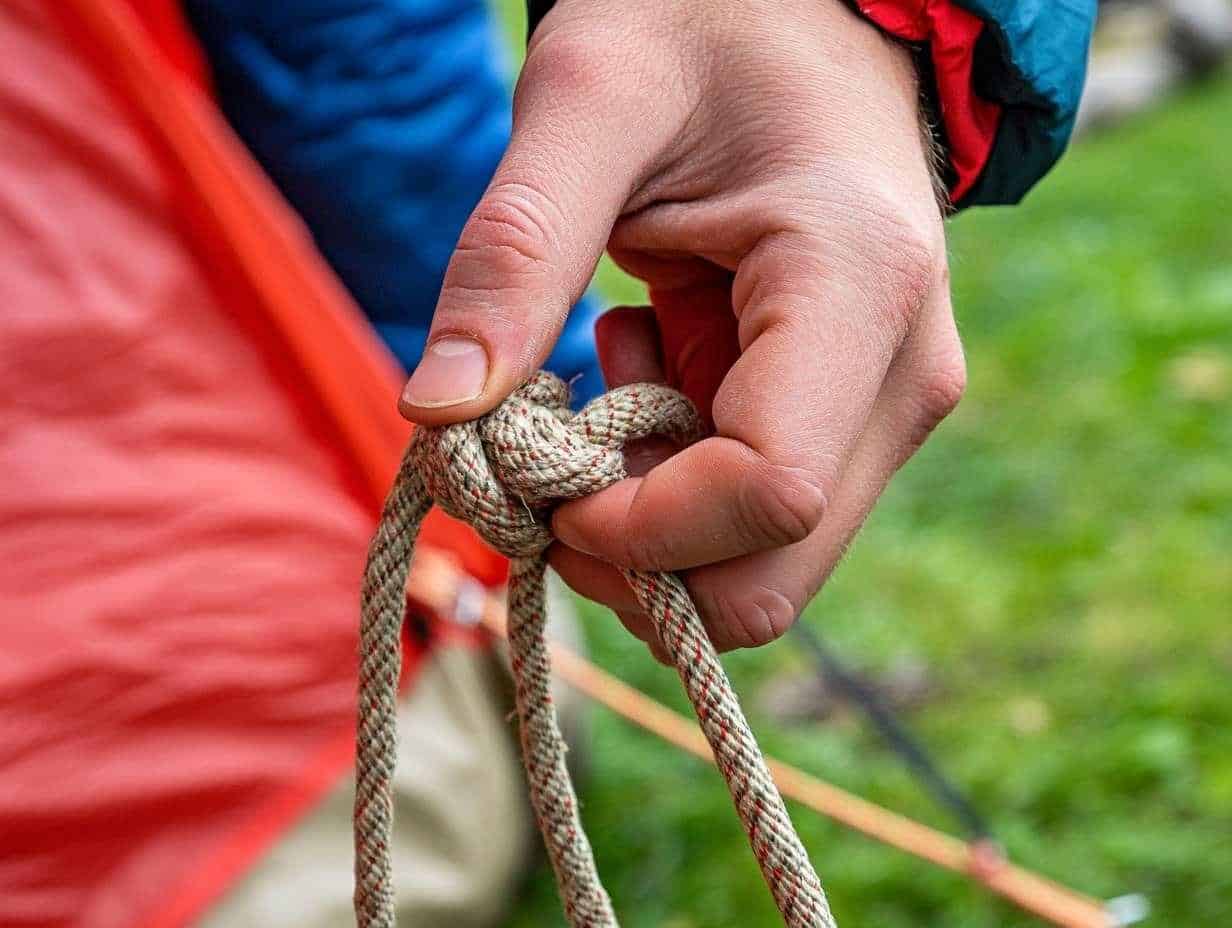
- Figure-8 Knot
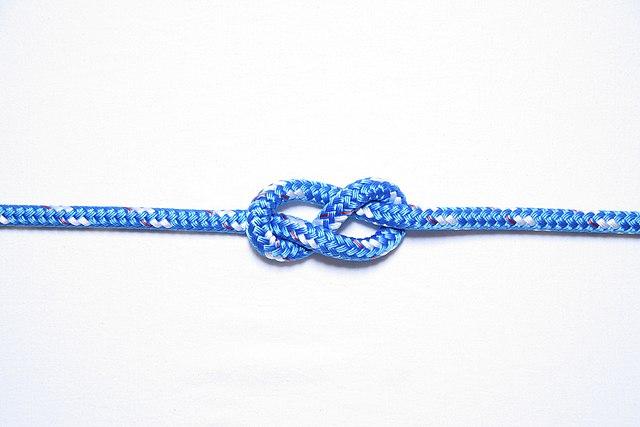
The Figure-8 knot is a strong, reliable knot that’s easy to tie and untie, even after being under load. It’s commonly used in climbing, but it has plenty of applications in general camping as well.
To tie a Figure-8 knot:
- Form a loop in the rope.
- Pass the working end under and around the standing end.
- Thread the working end down through the original loop.
- Tighten by pulling on both ends.
This knot is great for creating a stopper at the end of a rope or as a starting point for more complex knots.
- Clove Hitch
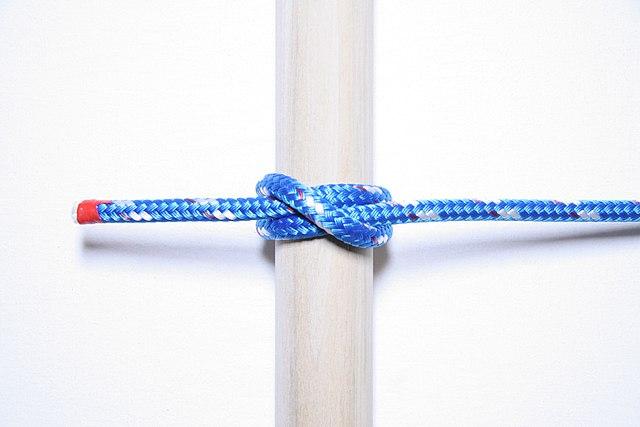
The clove hitch is a quick and easy way to secure a rope to a pole or tree. It’s not the most secure knot on its own, but it’s great for starting other lashing techniques.
To tie a clove hitch:
- Wrap the rope around the pole.
- Cross the working end over the standing end and wrap around the pole again.
- Pass the working end under the last wrap.
- Tighten by pulling on both ends.
Use the clove hitch for quickly attaching guy lines to tent poles or for starting a lashing to create camp furniture.
- Two Half-Hitches
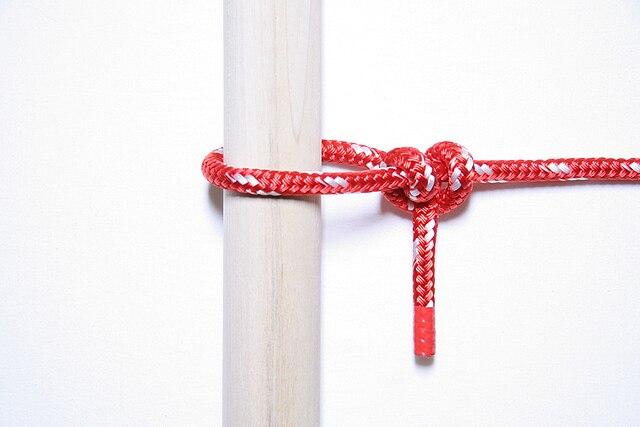
Two half hitches is a reliable knot for securing a rope to a fixed object. It’s easy to tie and can be adjusted easily.
To tie two half-hitches:
- Pass the working end of the rope around the object.
- Take the working end and pass it over and then under the standing end to create a half-hitch.
- Repeat step 2 to form a second half hitch.
- Tighten by pulling on the working end.
This knot is great for tying off guy lines or securing a boat to a dock.
- Sheet Bend
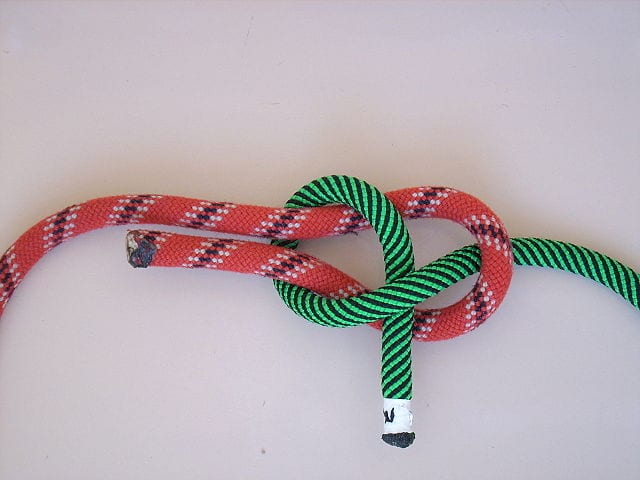
The sheet bend is the go-to knot for joining two ropes together, especially if they’re of different thicknesses.
To tie a sheet bend:
- Form a loop in the thicker rope.
- Pass the working end of the thinner rope up through the bight.
- Bring the working end around behind both parts of the thicker rope.
- Pass the working end under itself.
- Tighten by pulling on all four rope ends.
This knot is invaluable when you need to extend a guy line or join two ropes for a clothesline.
- Prusik Knot
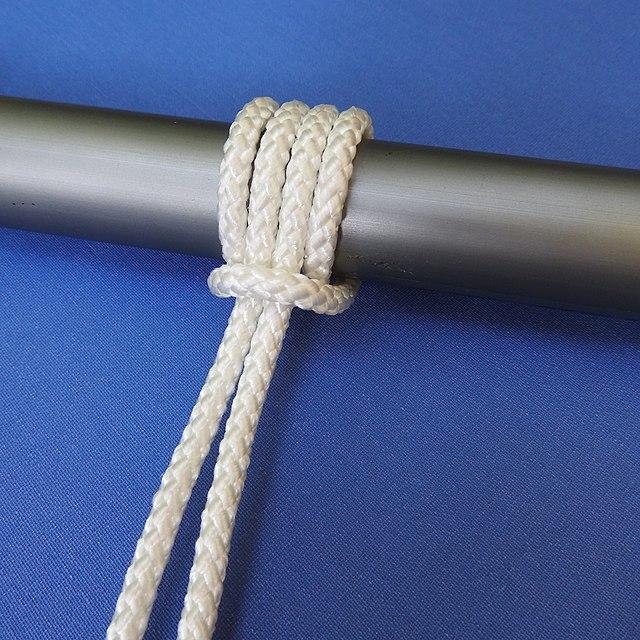
The Prusik Knot is a friction hitch that grips a rope when under load but can be slid easily when not under load. It’s commonly used in climbing but has many applications in general camping as well.
To tie a Prusik knot:
- Create a loop with a smaller diameter cord.
- Wrap the loop around the main rope three times, passing through its own loop each time.
- Tighten by pulling on both ends of the smaller cord.
Use the Prusik knot to create adjustable loops on guy lines or as a backup in climbing situations.
- Trucker’s Hitch
The trucker’s hitch is a compound knot that creates a mechanical advantage, allowing you to apply significant tension to a rope.
To tie a trucker’s hitch:
- Tie a Figure-8 loop in the standing end of the rope.
- Pass the working end around the anchor point.
- Pass the working end through the Figure-8 loop.
- Pull down on the working end to create tension.
- Secure with two half hitches.
This knot is excellent for creating tight ridge lines for tarps or securing loads to a vehicle.
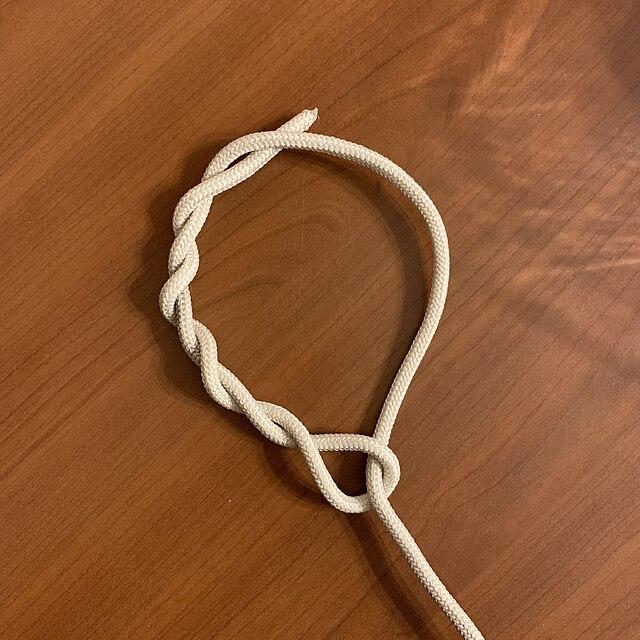
- Alpine Butterfly Knot
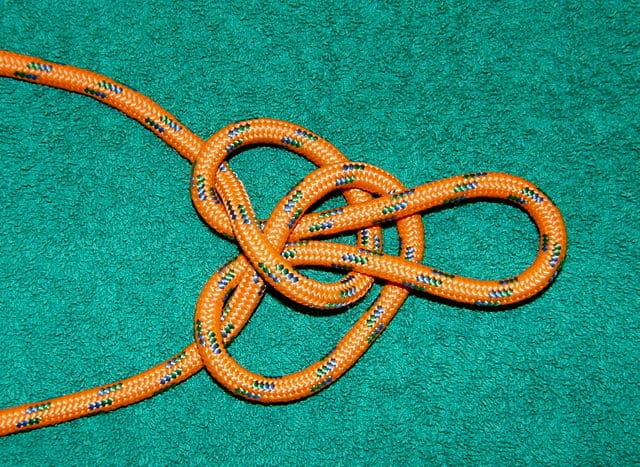
The alpine butterfly knot creates a secure loop in the middle of a rope without weakening the rope’s overall strength.
To tie an alpine butterfly knot:
- Create two loops by twisting the rope.
- Wrap the right loop around and behind the left loop.
- Pull the left loop through the opening created in step 2.
- Tighten by pulling on the standing ends and the loop.
This knot is great for creating a secure attachment point in the middle of a rope or isolating a damaged section of rope.
- Timber Hitch
The timber hitch is a quick-release knot that tightens under load, making it perfect for dragging logs or securing large objects.
To tie a timber hitch:
- Pass the working end of the rope around the object.
- Wrap the working end around the standing end.
- Make at least three turns around the working part of the rope.
- Tighten by pulling on the standing end.
Use this knot when gathering firewood or moving large objects around your campsite.
Practice Makes Perfect: Tips for Improving Your Knot-Tying Skills
Like any skill, mastering knots takes practice. Here are some tips to help you improve:
- Start with the basics: Focus on mastering a few essential knots before moving on to more complex ones.
- Use mnemonics: Create memorable phrases to help you remember the steps for each knot.
- Practice regularly: Set aside some time each day to practice your knot-tying skills.
- Challenge yourself: Time yourself or try tying knots with your eyes closed to improve your muscle memory.
- Teach others: Explaining knot-tying techniques to someone else can help reinforce your own understanding.
Knot Safety: Avoid These Common Pitfalls
While knots can greatly enhance your camping experience, it’s important to keep safety in mind:
- Always check your knots: Before relying on a knot, give it a good tug to ensure it’s secure.
- Know when to retire old ropes: Frayed or damaged ropes can compromise the integrity of your knots.
- Use the right knot for the job: Some knots are better suited for certain tasks than others.
- Be aware of environmental factors: Wet or frozen ropes can affect a knot’s performance.
Knot Wizardry: Innovative Campsite Hacks
Once you’ve mastered the basics, you can start getting creative with your knot-tying skills:
- Create camp furniture: Use lashing techniques to build chairs, tables, or even a camp kitchen.
- Improvise gear: Use knots to create a makeshift backpack or bag.
- Improve your first aid kit: Knowing how to tie a secure bandage can be crucial in emergency situations.
- Make decorative items: Some knots, like the monkey’s fist, can be used to create interesting decorations for your campsite.
Tying It All Together: Your Journey to Knot Mastery Begins
Mastering camping knots is more than just a practical skill – it’s an art form that can truly enhance your outdoor experiences.
From the basic reef knot (also known as a square knot) to more advanced hitches and bends, each knot in your arsenal opens up new possibilities for problem-solving in the wilderness.
Remember, the key to becoming proficient with knots is practice. Start with the basics, like tying a simple rope through a loop, and gradually work your way up to more complex knots. Before you know it, you’ll be securing tent pegs, joining two ropes, and creating complex camp setups with ease.
So, grab some rope, head out to your backyard or local park, and start practicing. Your future self, comfortably relaxing in a perfectly pitched tent on your next camping trip, will thank you!
Have a favourite camping knot or a knot-tying experience that saved the day? Share your stories in the comments below.
Happy camping, and may your knots always hold true!
Pingback: Wilderness Survival Skills Every Adventure Traveler Needs - david.travel